Constructing a 3D Printer [Prusa I3]
SECTION 9 - Maintain & Modding - Page 1
Section 1 - Wooden frame : part 1 - part 2 - part 3Section 2 - Y Axis : part 1 - part 2 - part 3
Section 3 - X-Z axis : part 1 - part 2
Section 4 - Extruder : part 1 - part 2 - part 3
Section 5 - Electronics : part 1 - part 2 - part 3
Section 6 - Coarse Calibration & Software : part 1 - part 2 - part 3
Section 7 - Fine Calibration & Software : part 1 - part 2 - part 3
Section 8 - Extras : part 1 - part 2 - part 3
Section 9 - Maintenance & Modding : [[ part 1 ]] - part 2
In this section we will talk about maintenance of our 3D printer.
Our 3D printer needs to be covered with some nylon of fabric material when it is not used in order to not allow the dust cover the motors and electronics.
There is not much to do other than cleaning the hot-end the glass and the linear and threaded rods of the machine.
Using this type of machine for more than two years i did not recalibrated the machine.
The bed levelling of mine machines does not change over the years so i do not find the auto levelling procedures necessary.
If you calibrate the machine as seen in this tutorial you should not have any issues.
I recommend using a SAE 30 viscosity oil for the threaded and linear rods once a month.
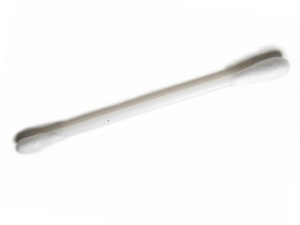
Just dip an ear bud at the oil and apply.


The PVA glue can be removed using water and handkerchief paper. Do not use any other detersive.
Cleaning the extruder is a simple procedure too.
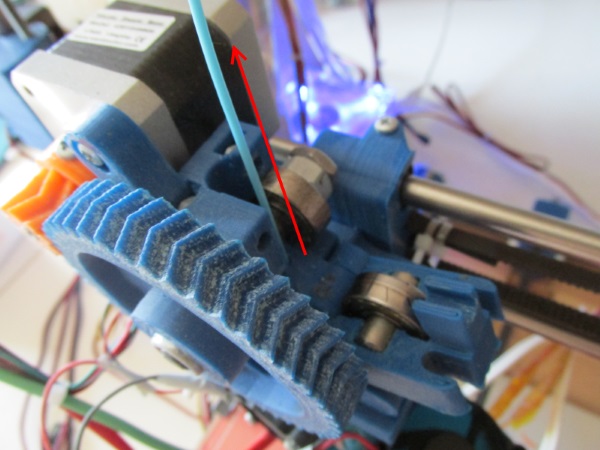
Insert your PLA filament at the extruder preferably light coloured like white, orange or open blue.
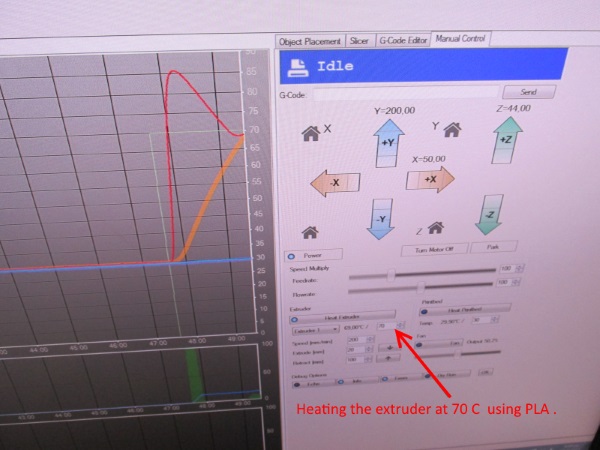
Using repetier host or pronterface heat the extruder at 60-70 degrees Celcius.
If you are using ABS i do not know what temperature you have to use in order to clean the nozzle.

Now unlock the extruder idler door and try to remove the PLA filament manually by hand.
Do not over-force the machine.
If the filament does not pull off just increase the temperature of the extruder.
You have to find the ideal temperature that when the filament pulls off makes a sound like when a wine bottle opens.

Pay attention at the extracted filament.
You should see a black dirty ring like the pictures below.


Now your extruder is clean again. Do this operation once a month.
In the next page we will see some modifications of our machine.
Section 1 - Wooden frame : part 1 - part 2 - part 3
Section 2 - Y Axis : part 1 - part 2 - part 3
Section 3 - X-Z axis : part 1 - part 2
Section 4 - Extruder : part 1 - part 2 - part 3
Section 5 - Electronics : part 1 - part 2 - part 3
Section 6 - Coarse Calibration & Software : part 1 - part 2 - part 3
Section 7 - Fine Calibration & Software : part 1 - part 2 - part 3
Section 8 - Extras : part 1 - part 2 - part 3
Section 9 - Maintenance & Modding : [[ part 1 ]] - part 2